Article: How to Hang Paste-the-Wall Wallpaper: The Complete DIY Installation Guide
How to Hang Paste-the-Wall Wallpaper: The Complete DIY Installation Guide
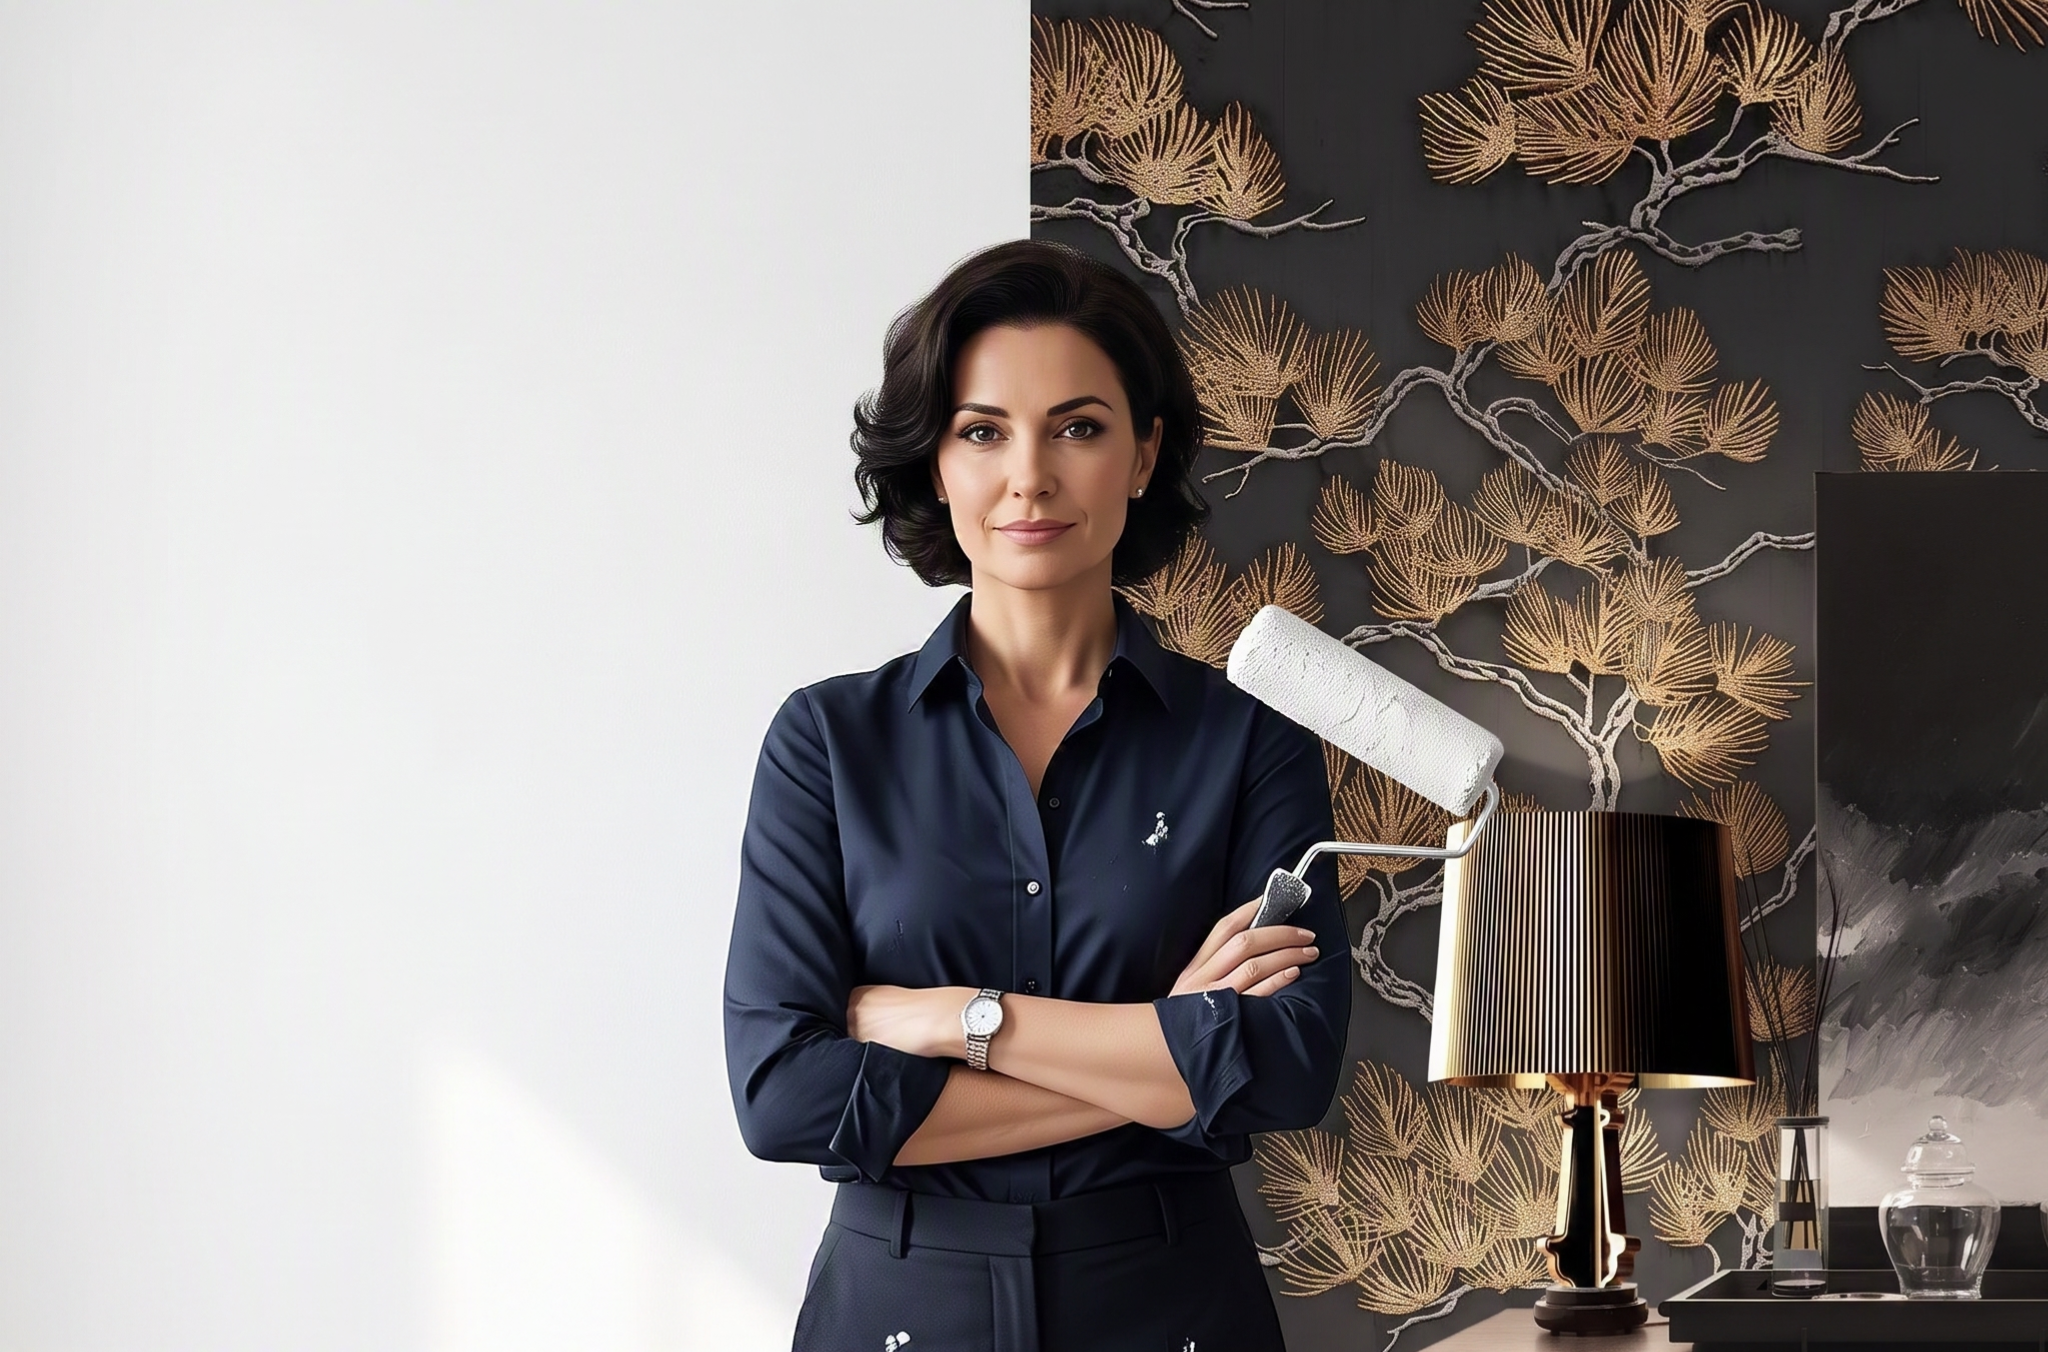
Why Modern Non-Woven Wallpaper Makes Installation Faster, Easier, and More Reliable… and How To Do It Yourself!
Wallpaper Installation Has Come a Long Way
If you've ever hung wallpaper years ago, you probably remember large pasting tables, dripping adhesive, folded strips of wallpaper, and waiting patiently for each strip to "book" before hanging.
Fortunately, wallpaper technology has evolved dramatically.
Today's premium paste-the-wall wallpapers are manufactured using advanced non-woven backings, making installation significantly faster, cleaner, and easier—even for first-time decorators.
At Veer Décor, the majority of our wallpapers are printed on premium non-woven substrates specifically engineered for paste-the-wall installation. The result is a wallpaper that's easier to install, more forgiving during application, and easier to remove when it's time to redecorate.
What Is Paste-the-Wall Wallpaper?
Unlike traditional wallpaper, where adhesive is applied directly to the back of each strip, paste-the-wall wallpaper allows you to:
✔ Roll adhesive directly onto the wall
✔ Hang dry wallpaper immediately
✔ Slide each strip into position
✔ Smooth it flat
✔ Trim the excess
There is no need to wrestle with wet strips of wallpaper or carry them across the room.
The wallpaper stays clean, dry, and much easier to handle throughout installation.
The Secret Is the Non-Woven Backing
The reason paste-the-wall wallpaper works isn't the adhesive.
It's the wallpaper itself.
Premium non-woven wallpaper is manufactured from a blend of cellulose fibers and synthetic textile fibers that create an incredibly stable backing.
This stability is known as being non-dimensional (or dimensionally stable).
In simple terms:
The wallpaper doesn't noticeably expand when it gets wet, nor does it shrink as it dries.
That may sound like a small detail, but it's one of the biggest technological advances in wallpaper manufacturing over the last several decades.
Because the material remains dimensionally stable:
- Seams stay tighter
- Patterns align more consistently
- Installation is more forgiving
- The wallpaper is easier to reposition
- There's little or no need for "booking"
Why Traditional Wallpaper Needed "Booking"
Years ago, almost all wallpaper was printed on paper backings.
Paper naturally absorbs moisture.
When wallpaper paste was brushed onto the back of the paper, the paper immediately began expanding.
If installers hung the wallpaper immediately, the paper would continue expanding on the wall, creating bubbles and wrinkles.
Then, as it dried, it would shrink again—sometimes causing seams to open.
To prevent this, installers used a process called booking.
After applying paste to the back of the wallpaper, they carefully folded the strip paste-side to paste-side without creasing it.
The folded strip was allowed to rest for several minutes so the paper could fully absorb the moisture and complete most of its expansion before installation.
Only then would the wallpaper be hung.
Booking worked well—but it added time, required extra workspace, and created additional mess.

The once-all-important “booking” process, now made much less relevant thanks to the dimensional stability of non-woven backed wallpapers.
Why Non-Woven Wallpaper Doesn't Need Booking
Because premium non-woven wallpaper doesn't appreciably expand when wet, there's simply nothing that needs to "relax."
Instead:
- Apply adhesive directly to the wall.
- Hang the dry wallpaper.
- Position the strip.
- Smooth it flat.
That's it.
The wallpaper remains dimensionally stable throughout installation, resulting in crisp pattern matches and clean seams.
Benefits of Paste-the-Wall Wallpaper
Faster Installation
Without applying paste to every strip, installation moves much more quickly.
Many homeowners complete a room in nearly half the time compared to traditional wallpaper.
Less Mess
No dripping wallpaper.
No folding wet strips.
No paste-covered tables.
Only the wall receives adhesive, making cleanup considerably easier.
Easier to Handle
Dry wallpaper is stronger and easier to position.
Because the wallpaper isn't saturated with moisture, it's less likely to stretch or tear during installation.
Easier to Reposition
Need to adjust a strip?
Simply slide it into place while the adhesive remains wet.
The dimensional stability of the non-woven backing makes alignment much easier.
Better Seam Performance
Because the wallpaper isn't expanding and shrinking, seams remain tighter after drying.
That's one reason professional installers have embraced premium non-woven wallpapers.
And now that you've learned why non-woven backed wallpapers are easier to install, let's get to "how to do it yourself"!
Step-by-Step Installation Guide
Step 1 — Prepare the Wall
Proper preparation is the key to a professional finish.
Your wall should be:
- Clean
- Smooth
- Dry
- Dust free
- Free of grease
Fill nail holes and sand any rough areas.
If installing over fresh drywall or porous surfaces, apply an appropriate wallpaper primer or sizing solution first.
Step 2 — Gather Your Tools
You'll need:
- Wallpaper paste
- Paint roller
- Roller tray
- Wallpaper smoothing brush
- Sharp utility knife
- Metal straightedge
- Tape measure
- Pencil
- Level or laser level
- Seam roller (optional)
Step 3 — Mark Your First Plumb Line
Even if your corner appears perfectly straight, don't assume it is.
Use a level or laser to draw a perfectly vertical guideline for your first strip.
Every strip that follows depends on getting this first one right.
Step 4 — Apply Adhesive to the Wall
Using a paint roller, apply an even coat of wallpaper adhesive to an area slightly wider than one strip.
Avoid rolling adhesive too far ahead.
Work one strip at a time for best results.

Step 5 — Hang the First Strip
Place the wallpaper at the ceiling, allowing a small amount of excess for trimming.
Align the edge with your plumb line.
Because the wallpaper remains dry, you'll find it much easier to position than traditional wallpaper.
Step 6 — Smooth the Wallpaper
Using a wallpaper smoother or smoothing brush:
Begin in the center.
Work outward toward the edges.
This removes trapped air while ensuring full adhesive contact.
Avoid pressing excessively hard.
Let the tool do the work.

Step 7 — Trim Excess Material
Using a fresh utility blade and straightedge, trim along:
- Ceiling
- Baseboard
- Around windows and doors
Replace blades frequently.
A sharp blade produces cleaner cuts and prevents tearing.
Step 8 — Match the Pattern
Apply adhesive for the next strip.
Carefully align the pattern before smoothing.
Premium non-woven wallpaper makes pattern matching much easier because the material doesn't continue expanding during installation.
Step 9 — Wipe Away Excess Adhesive
Immediately remove any paste from the wallpaper surface using a clean damp sponge.
Rinse frequently with clean water.
This helps maintain a beautiful finish.
Can You Still Paste the Back of Non-Woven Wallpaper?
Absolutely.
One of the great advantages of premium non-woven wallpaper is its flexibility.
Although it was engineered for paste-the-wall installation, many professionals still choose to apply adhesive directly to the back of the wallpaper.
Unlike traditional paper wallpaper, however, booking is generally unnecessary because the non-woven backing remains dimensionally stable.
Why Some Professional Installers Still Paste the Paper
If you've ever watched an experienced wallpaper installer at work, you may notice them feeding wallpaper through an automatic pasting machine.
These machines apply an even layer of adhesive quickly and consistently, making them ideal for large projects.
For professionals, running wallpaper through a pasting machine is often faster than rolling adhesive onto each section of wall.
That's why you'll see some installers continue using the paste-the-paper method—even when installing non-woven wallpaper.
The important point is this:
Premium non-woven wallpaper gives you the flexibility to install it either way.
Whether you choose to paste the wall or paste the paper, you'll enjoy the same dimensional stability and excellent finished appearance.
Pro Tips for a Perfect Installation
✔ Prime new drywall before installation.
✔ Read the manufacturer's instructions before beginning.
✔ Do not skip the plumb line step (or your wallpaper could appear “crooked”)
✔ Change your utility blade often.
✔ Keep your hands clean while handling wallpaper.
Why We Love Non-Woven Wallpaper at Veer Décor
We specialize in premium non-woven construction because we believe installation should be as enjoyable as choosing the perfect design.
Non-woven wallpaper offers:
- Easier installation
- Better dimensional stability
- Cleaner seams
- Less mess
- Faster decorating
- Excellent durability
- Easier removal when it's time to redecorate
Whether you're transforming a powder room, creating a dramatic feature wall, or redecorating your entire home, paste-the-wall wallpaper makes achieving professional-looking results easier than ever.
Ready to Transform Your Walls?
Explore Veer Décor's curated wallpaper catalog, featuring designer patterns, exceptional craftsmanship, and easy-to-install non-woven construction. With styles ranging from timeless florals and elegant textures to bold contemporary prints, you'll find the perfect wallpaper to bring your vision to life.
So… Veer off the beaten path and create a home as unique as you are!

